
Getting Started
Installing
Download the installer for your platform from the download page — a Windows .exe (NSIS installer) or a macOS .dmg. Run it, then launch SDE Code.
Opening a project
Use File → Open Folder (or Ctrl+O / Cmd+O) to open a project. SDE Code supports multi-root workspaces — you can add more than one folder to the same window via File → Add Folder to Workspace, and save the combination as a .sde-workspace file to reopen later.
Workspace Trust
The first time you open a folder, SDE Code asks whether you trust it. Restricted (untrusted) workspaces still let you browse and read files, but mutating actions — editing, running terminal commands, and most AI Agent Mode tools — stay disabled until you explicitly trust the folder. You can change this later from the shield icon in the status bar.
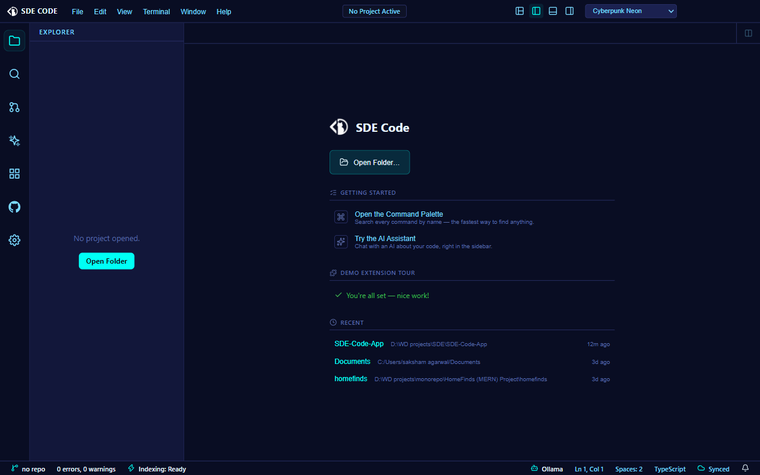
The layout
- Activity Bar (far left) — switches between Explorer, Search, Source Control, the AI Assistant, Extensions, and Settings.
- Explorer — your file tree, plus Timeline (per-file local history) and outline panels.
- Editor area — tabs, split panes, and the various special views (diffs, notebooks, the Debugger, Code Map).
- Bottom panel — Terminal, Problems, Ports, Output, Debug console.
- AI Assistant panel — chat, Agent Mode, Repo mode, and External Agent integrations live here; see AI Assistant & Agent Mode.
Every part of this layout is customizable — split the editor into multiple panes, rearrange the bottom panel’s tabs, or hide everything but the editor with Zen Mode. See Interface & Layout.
Picking an AI provider
Open Settings → AI Provider Credentials and add an API key for Anthropic (Claude), OpenAI, or Gemini — whichever you use. You can switch between configured providers per-conversation from the model selector in the Assistant panel.